When to Use Overlays
Use overlays when recipients need to:
-
Electronically sign documents
-
Fill in specific text fields
-
Check acknowledgment boxes
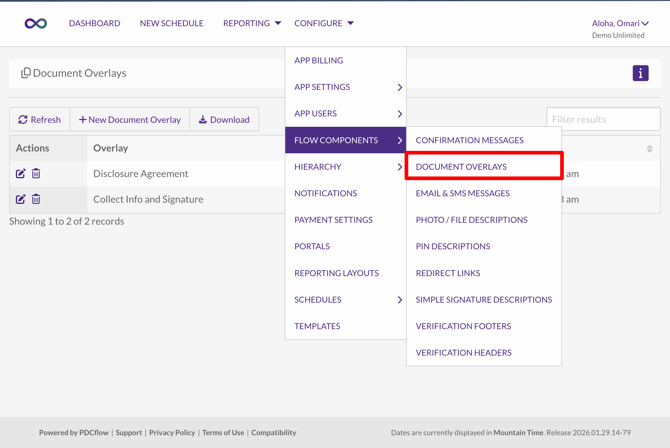
Creating a Document Overlay
-
Go to Configure > Flow Components > Document Overlay.
-
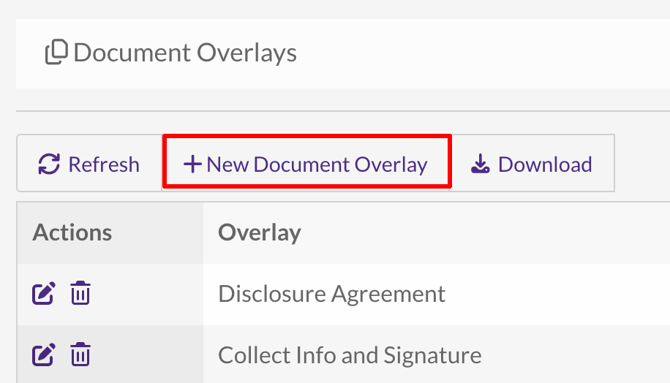
Click + New Document Overlay.
- Upload Your Document
- Upload a PDF (under 7MB) with no security restrictions.
- Choose a clear, descriptive name for your overlay.
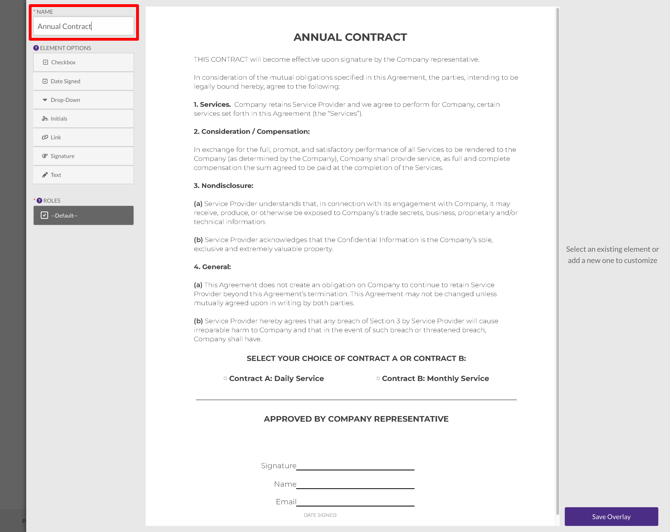
- Add Interactive Overlay Elements
Available elements: checkbox, date signed, drop-down, initials, link, signature, text.- Select an element from the list.
- Click your document to place it.
- Drag or resize to position correctly.
- Settings for Overlay Element
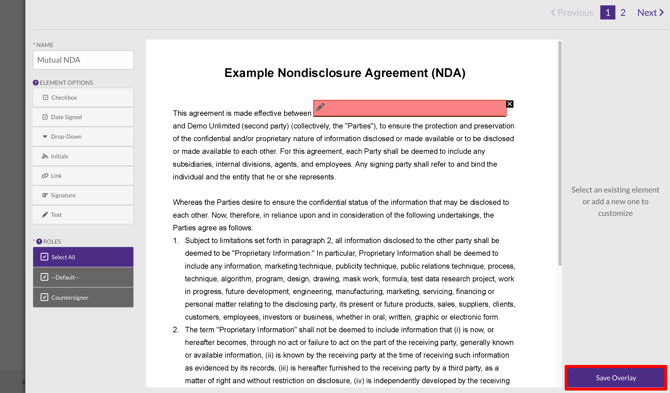
Click any element (grey outline appears) to edit settings in the right panel:- Assign to Role: Use for multi-recipient flows.* Assign additional recipients to roles like "Recipient 2" or "Countersigner."
Example: Date Signed automatically stamps when that role's recipient completes their part. - Required Field: Make elements mandatory to complete the Flow.
- Description: Add instructions (e.g., "Sign here to approve this contract").
- Title: Drop-down display label.
- Dropdown Options: List selectable choices.
- Font Size: Adjust text size.
- Prepopulate Value: Auto-fill known data (e.g., recipient's first and last name).
- URL: Link destination for clickable links.
- Assign to Role: Use for multi-recipient flows.* Assign additional recipients to roles like "Recipient 2" or "Countersigner."
- Save Overlay
Important Tips
- Roles: Group elements by role for complex, multi-recipient workflows.
- Pages: Use navigation buttons to add elements across multiple PDF pages.

After an overlay is saved, it will be available for Flow templates. 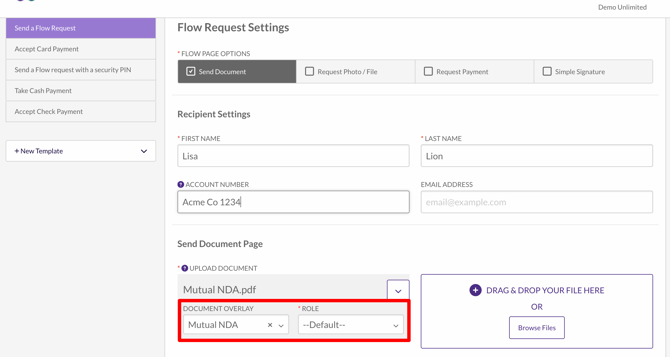
Need Help?
Email our Customer Success team at support@pdcflow.com.