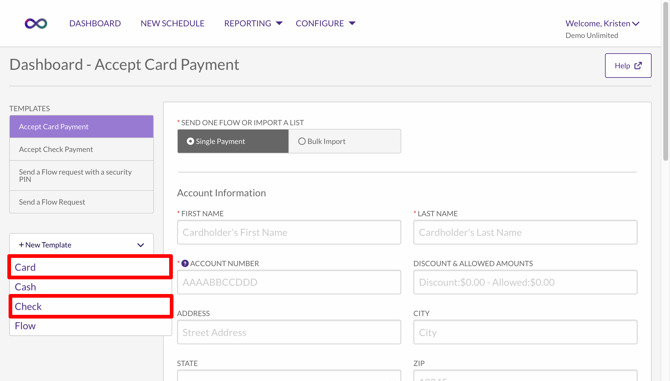
Requirements
-
Account accepts Card and/or Check payments
-
Your Security Group allows Schedule/Portal configuration
-
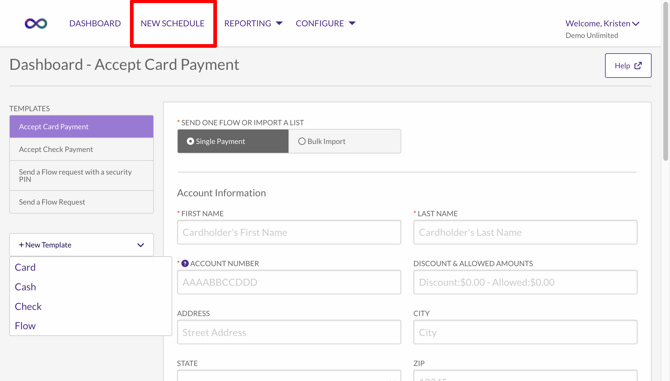
Schedule Service activated (contact your admin if you are missing the "New Schedule" option in the app's primary navigation)
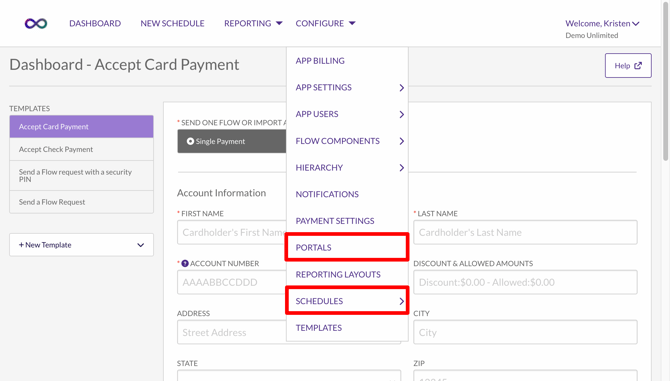
Step 1: Enable Schedules on Portal
-
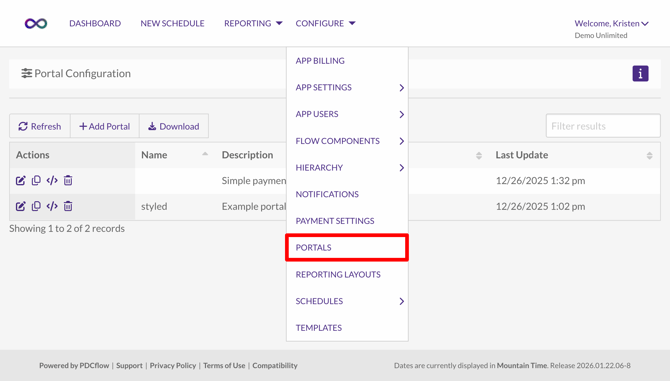
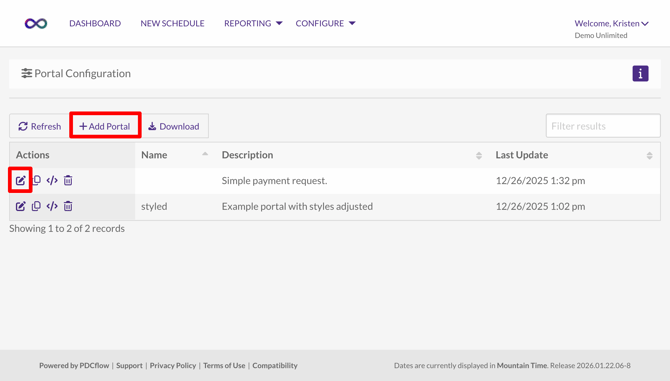
Go Configure > Portals
-
Add new or edit existing portal
-
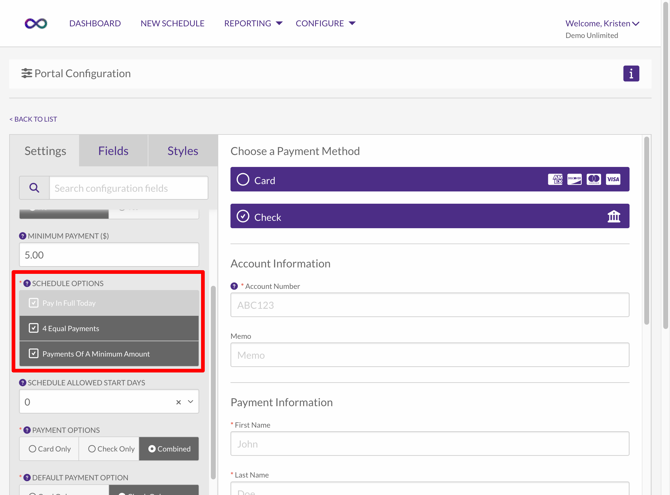
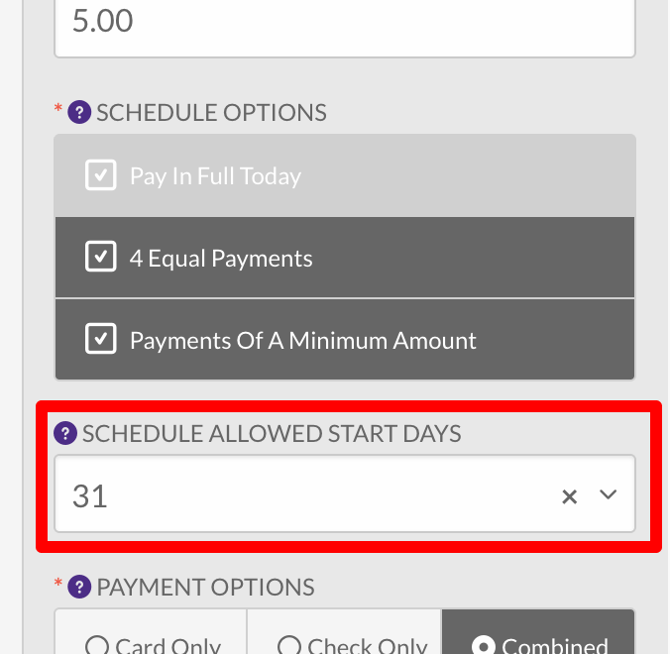
Under Settings, check Schedule Options:
-
☑️ Pay in Full Today (required)
-
☑️ Make 4 equal payments
-
☑️ Make payments of a minimum amount
-
-
Set Schedule Allowed Start Days (0-31 days future)
-
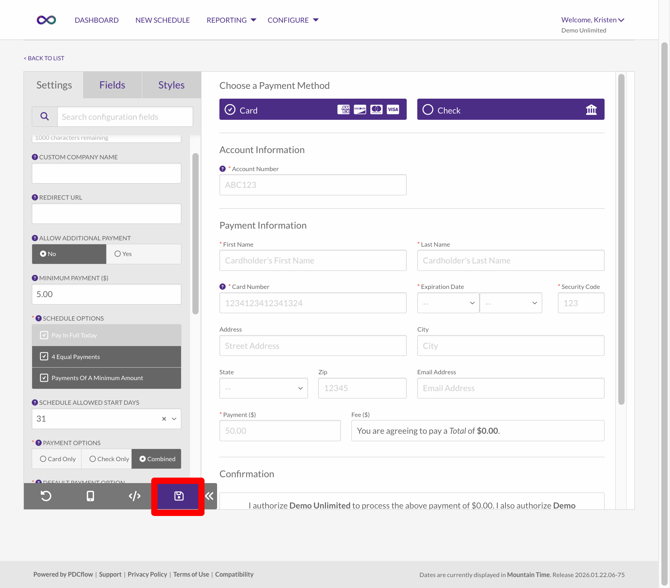
Save
Step 2: Configure Schedule Rules
-
Navigate to Configure > Schedules > Settings
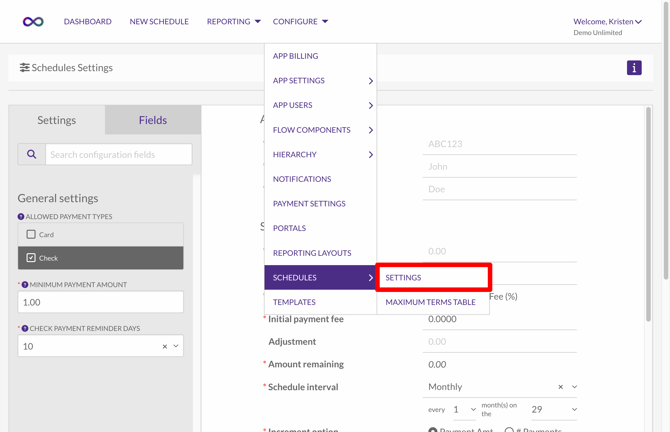
-
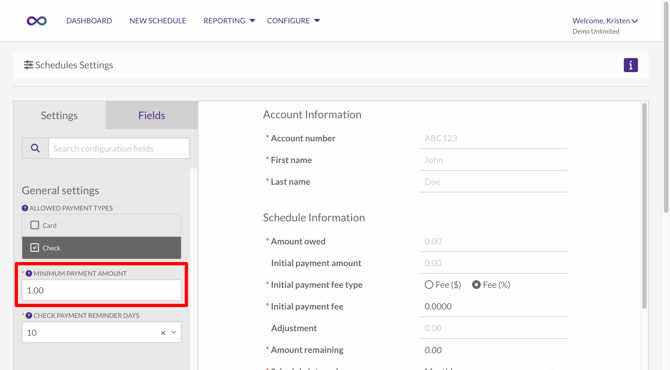
Set the Minimum Payment Amount. This determines the smallest allowable amount for individual payments in schedules. This setting takes precedence over the maximum terms table.
-
Fields tab: Set Default Interval for schedules (usually Monthly; also available: Bi-monthly, Bi-weekly, Weekly, Daily). Portals use this to calculate timing for customer-created payment schedules.

-
Save
-
-
Configure > Schedules > Maximum Terms Table
-
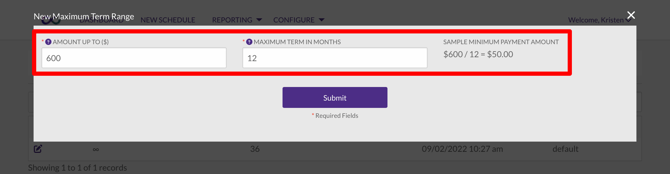
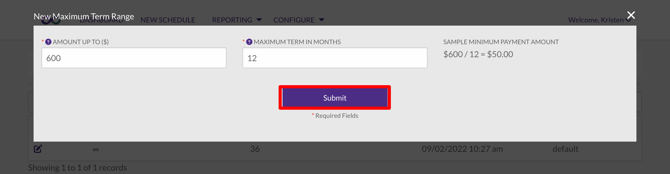
Click New Maximum Term Range
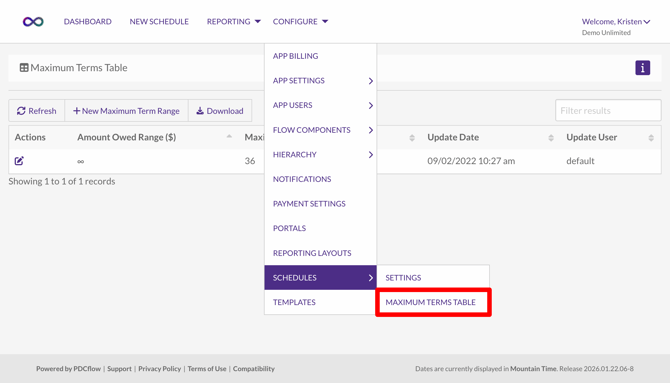
-
Enter the amount range + max months and use the sample to preview a sample outcome.
-
Click Submit to save the payment range
-
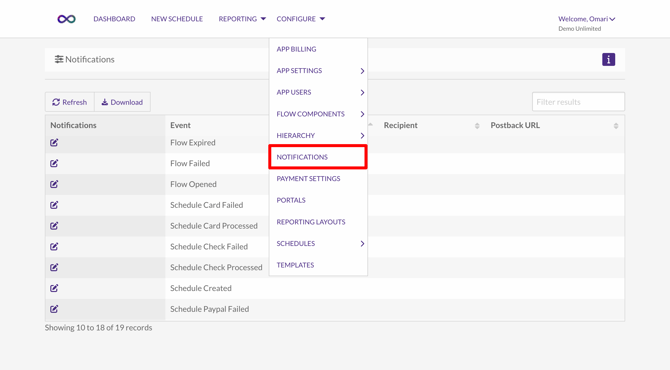
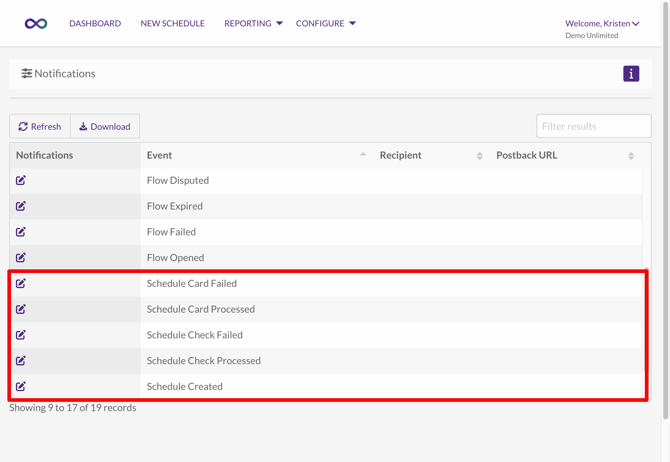
Step 3: Set Up Email/Postback Notifications for Schedule Events
-
Navigate to Configure > Notifications
-
Edit Schedule Created event, and/or the other schedule notification options.
-
Add emails (up to 10)
-
Click Submit to Save
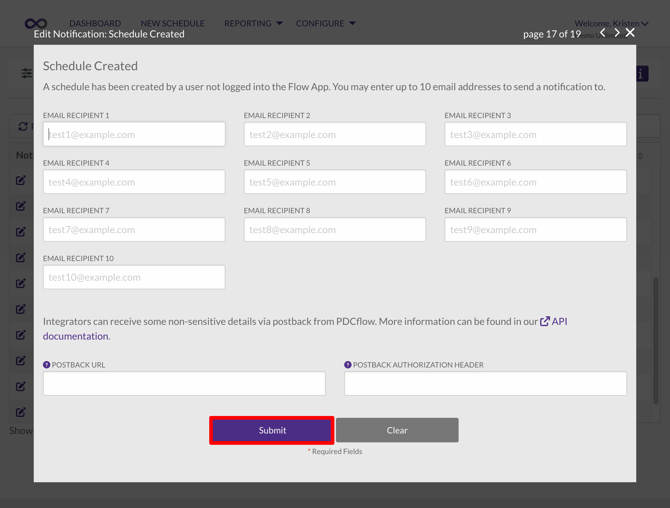
Note: In Configure > Portals, the setting for the portal's Allow Event Notifications must be Yes.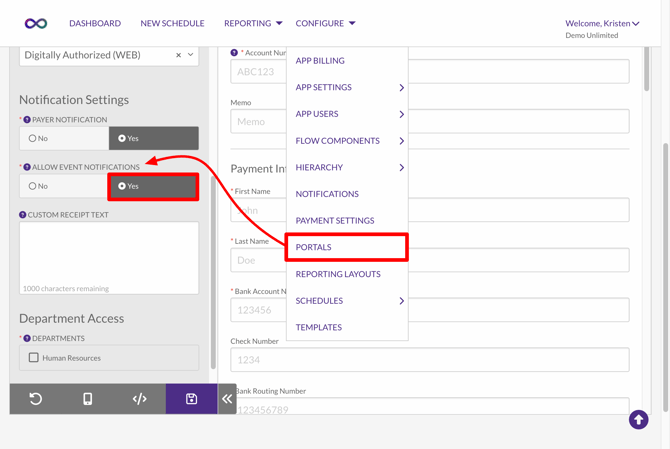
How Payers See Options
Customer gets Flow payment request → Enters amount → Sees qualified options. Options auto-adjust by amount and may include:
-
Pay in full today
-
4 equal payments
-
Minimum payments + start date picker
 .
. 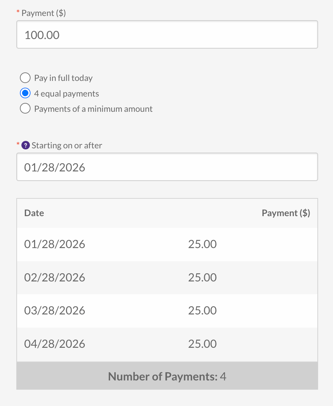
They select a payment schedule, accept terms, and get a receipt.
View Schedules in Reports
To view all the schedules in your app, navigate to Reporting > Schedules.
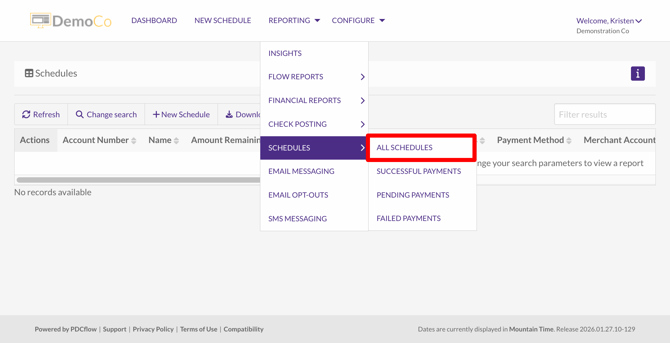
To see every schedule, select all statuses before clicking Submit.
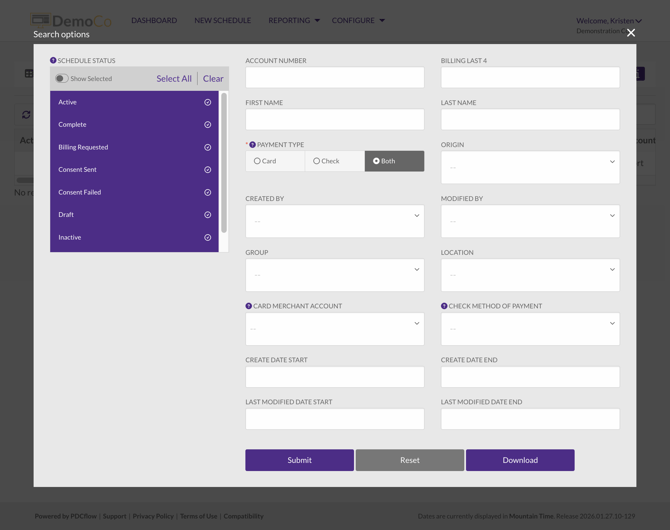
When you need to look for schedules in other ways, you can filter by many other options as well.
| Filter | Options |
|---|---|
| Schedule Status | Active, Complete, Billing Requested, Consent Sent, Consent Failed, Draft, Inactive, Initial Payment Failed |
| Payer Data | Account Number, Billing Last 4, First Name, or Last Name |
| Payment Type | Card, Check, Both |
| Origin |
|
| Date Range |
|
| Employee |
|
| Company Hierarchy |
|
| Account Directive |
|
| Date Range |
|
Need Help?
Email our Customer Success team at support@pdcflow.com.